
-1.svg)
Large datasets can hold hundreds of annotations. Trendspek's Saved Views feature lets you quickly isolate the information you need to make sure everyone is on the same (virtual) page.
Saved Views allows you to group all relevant markups and annotations into a single, shareable view.
This feature not only simplifies navigation, but also lets you better categorise, track and share important project updates.
Whether you're working with internal team members or external contractors, Saved Views makes sure everyone’s on the same (virtual) page
Saved Views is available on Pro Plans and above.
With Saved Views you can:
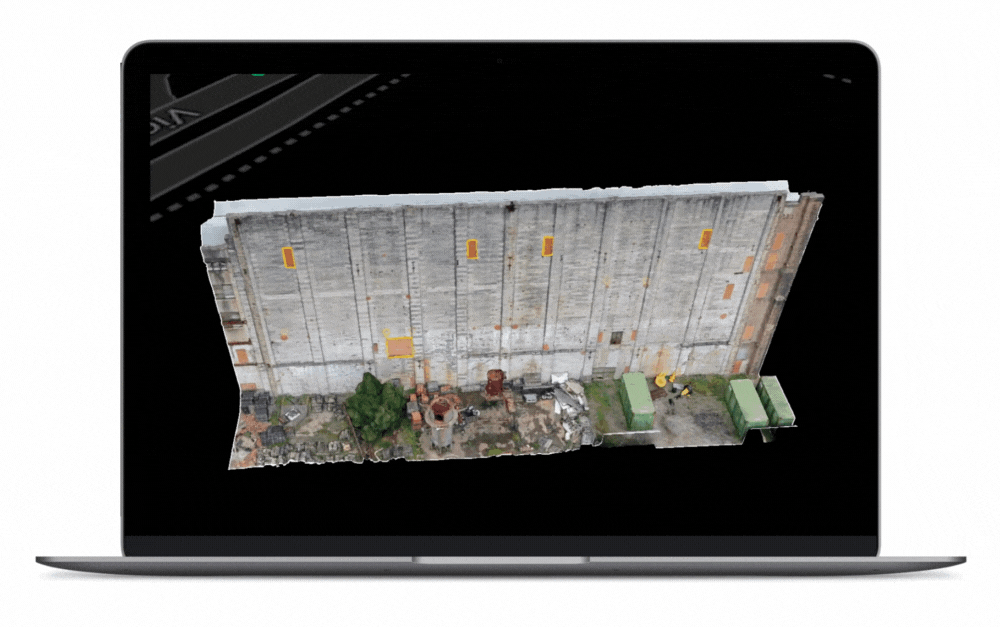
- Focus on specific sections of your 3D model, like a façade or roof
- Group all relevant markups, notes, and annotations in one view
- Share concise, targeted updates with stakeholders (e.g. contractors) — without endless navigating.
Watch a 2-min speed demo


